
 English
 中文简体
 Español
Click-Lock vs Glue-Down Vinyl: Which Installation Method Saves Time and Labor?
A 400-square-meter retail renovation had a hard deadline: the store would reopen in 12 days. The contractor's estimate showed two paths. Click-lock SPC could be installed over the existing polished concrete with basic leveling and no adhesive, with the crew finishing in 2 days. Glue-down LVT required moisture testing, priming, trowel-applied adhesive, and a 24-hour cure period before the crew could even walk on it, adding nearly a week to the schedule. The decision was not about aesthetics; it was about whether the store opened on time.
This scenario repeats across commercial and residential projects worldwide. Zhejiang Ousikai New Material Co., Ltd (OSK), a manufacturer exporting SPC, WPC, and LVT flooring since 2011, sees this decision play out in projects across Europe and North America. Buyers who understand the click-lock vs glue-down vinyl trade-off can cut project timelines dramatically, while those who skip the analysis often pay for it in labor hours and delayed occupancy.
Click-Lock vs Glue-Down Vinyl: The Installation Process Difference
The essential difference is that click-lock vinyl floats on the subfloor using interlocking edges, while glue-down vinyl is permanently bonded to the subfloor with adhesive.
Click-Lock Installation
Click-lock planks are manufactured with a tongue-and-groove interlocking profile. The installer angles the plank, engages the edge, and presses it down until it locks with an audible click. No adhesive is applied, and the floor can typically carry foot traffic immediately after installation.
Glue-Down Installation
Glue-down vinyl is applied with a pressure-sensitive adhesive spread by trowel. The subfloor must be tested for moisture, primed in some cases, and perfectly flat. After the planks are pressed into the adhesive, a weighted roller is passed over the surface to ensure full contact.
Because click-lock floors float as a single layer above the subfloor, they tolerate minor subfloor irregularities under 3mm over a 3-meter span and can be installed over most existing hard surfaces without removal. Glue-down floors require a much more exacting substrate because the adhesive will not compensate for unevenness. This difference alone determines how much time a project will spend on preparation rather than on laying the actual floor.
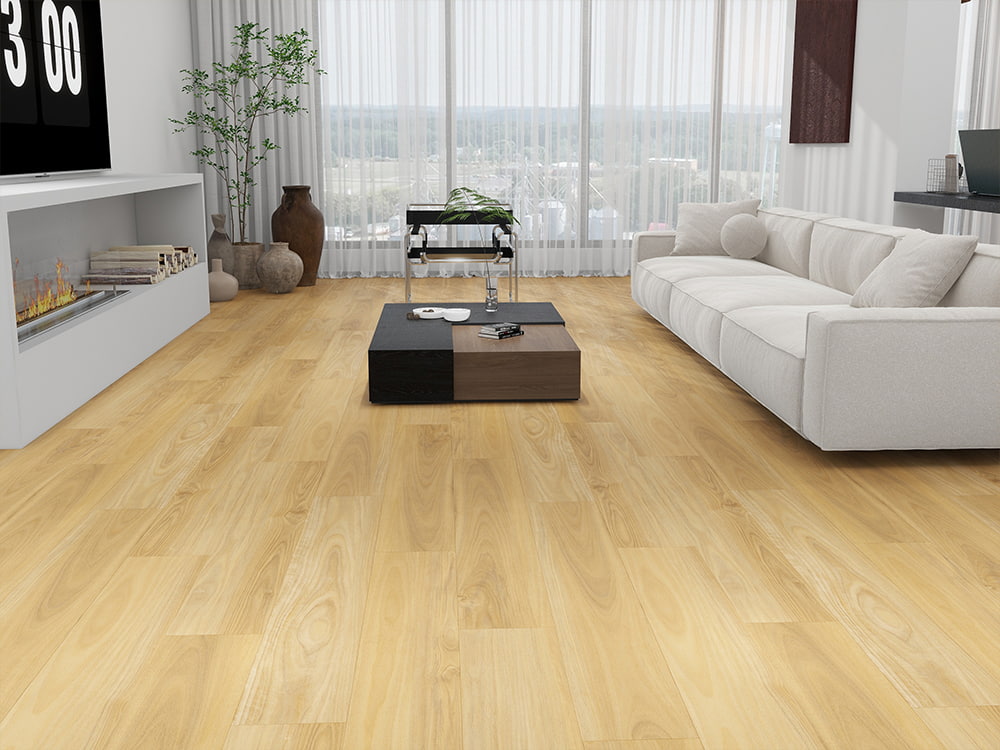 Waterproof Rigid Core SPC Flooring for Efficient InstallationThis SPC flooring from OSK offers a rigid core that accommodates minor subfloor irregularities and installs over existing surfaces, reducing preparation time and speeding up project schedules.View Product →
Time Savings by the Numbers: How Fast Is Click-Lock?
For a standard 400 square meter project, click-lock installation takes about 2 days of crew time, while glue-down takes 6 to 8 days, a 60 to 75 percent time reduction that directly impacts project scheduling.
| Installation Step | Click-Lock | Glue-Down |
| Subfloor moisture test | Not required for most products | Required (ASTM F2170) |
| Subfloor leveling tolerance | 3mm per 3m span | 2mm per 3m span |
| Adhesive application | None | 4-6 hours for 400 sqm |
| Installation rate per day | 200 sqm | 50-60 sqm |
| Cure time before traffic | Immediate | 24-48 hours |
The time difference is not just about crew hours. For a renovation project, every extra day of installation pushes back the schedule for downstream trades such as electrical, shelving, furniture, and final cleaning. A 4-day overrun on a retail renovation can represent 4 days of lost revenue for a business that had planned its reopening around a fixed date.
Labor Cost Analysis: The Real Savings of Click-Lock Installation
Labor is the largest variable cost in vinyl flooring installation, and click-lock reduces that cost by 50 to 70 percent on a typical project.
Click-Lock Cost Profile
- 32-40 person-hours for 400 sqm
- No adhesive or trowel rental costs
- Lower waste from plank recycling
- Smaller crew can complete the job
Glue-Down Cost Profile
- 96-128 person-hours for 400 sqm
- Adhesive, trowel, roller rental costs add up
- 10-15 percent adhesive waste is typical
- Requires an experienced bonded-floor applicator
The savings grow with project size. On a 1,000 sqm job, glue-down crews spend nearly as much time on adhesive application as on laying the planks themselves. For large-format commercial projects, this factor alone can shift the bid price by thousands of dollars.
When Glue-Down Still Makes Sense for Your Vinyl Project
Glue-down remains the better choice for permanently bonded commercial floors, sloped subfloors, and spaces where low profile and maximum stability matter.
- Sound transmission: Fully adhered floors eliminate the hollow sound of floating installations and add more mass to the floor assembly.
- Irregular subfloors: Adhesive can bridge small gaps and minor depressions that would compromise a click-lock installation.
- Rolling loads: Bonded vinyl resists shifting under carts, pallet jacks, and heavy furniture better than floating floors.
- Dimensional stability: Glue-down vinyl has a lower coefficient of expansion because the adhesive restricts movement.
- Profile height: Glue-down adds only 2-3mm total thickness, while click-lock with underlayment adds 4-6mm.
However, these advantages come with trade-offs. Glue-down installation requires a moisture test, a flatter subfloor, longer installation time, and specialized labor. If the project timeline is flexible and the floor must be permanent, glue-down can justify its higher cost. But if you are weighing the options in a renovation with a fixed opening date, the click-lock method wins on schedule and budget.
What to Check Before Choosing Your Installation Method
Before making a decision, verify the subfloor moisture reading, flatness tolerance, acoustic requirements, and the manufacturer's warranty terms.
Test Subfloor Moisture
Glue-down vinyl requires a calcium chloride reading below 3 lbs/1000 sqft/24h or an ASTM F2170 relative humidity reading below 75 percent. Readings above these thresholds lead to adhesive failure that can bubble and delaminate within the first year.
Measure Subfloor Flatness
Use a 3-meter straightedge. Click-lock tolerates 3mm deviation; glue-down needs 2mm or less for most adhesive systems. High spots are the most common cause of premature wear and seam gapping.
Confirm Acoustic Requirements
Multi-family buildings often require an impact insulation class rating. Floating systems with underlayment can improve acoustic performance by 4-6 dB, which may eliminate the need for additional soundproofing.
Review Warranty Terms
Most manufacturers void the warranty if subfloor preparation does not meet documented specifications. Read the installation instruction before ordering materials and keep a copy of the subfloor test results with your project records.
Manufacturers such as Zhejiang Ousikai New Material Co., Ltd (OSK) include detailed subfloor requirements with their click-lock products, and these specifications must be followed to maintain the warranty. For a complete walkthrough, see this SPC flooring installation guide. Transition strips and stair details are often overlooked during planning, so confirm that your accessory package matches the product you select.
 Matching Stair Nose Accessory for SPC Flooring TransitionsThis stair nose from OSK provides a coordinated finish for SPC flooring transitions, essential for completing stair edges and maintaining a consistent look across the installation.View Product →
FAQ: Click-Lock vs Glue-Down Vinyl Installation Questions
Is click-lock vinyl flooring more expensive than glue-down?
Click-lock products often cost 10 to 20 percent more per square meter at purchase. But when installation labor is factored in, the total project cost is typically 15 to 25 percent less for click-lock because of the significant time savings. Material cost differences are smaller than most buyers expect.
Can click-lock vinyl be installed in bathrooms or wet areas?
Yes, click-lock SPC is waterproof and commonly used in bathrooms. The floating installation allows for expansion and contraction, but you should use a waterproof transition strip at doorways and silicone sealant at walls to prevent moisture intrusion.
How do I repair a damaged plank in a glue-down floor?
Cut out the damaged plank using a circular saw set to the floor thickness, remove the adhesive with a scraper, and install a new plank using fresh adhesive. This is a 2-3 hour process per plank and requires professional skill. A professional installer can complete 3-4 plank replacements per day.
Does glue-down vinyl feel more solid underfoot?
Yes. Because the vinyl is bonded directly to the subfloor, there is no underlayment layer or floating movement. Click-lock floors with a built-in underlayment are softer and quieter, but some buyers prefer the firmness of glue-down in large commercial spaces.

